


In today’s media-rich world, a simple one-camera interview doesn’t always cut it. If you’re aiming to capture a high-quality, cinematic interview, using a two-camera setup is one of the best ways to elevate your production. It allows for dynamic editing, better audience engagement, and a polished professional look — whether for documentaries, corporate videos, YouTube content, or livestreams.
In this guide, we’ll walk you through how to plan, position, light, shoot, and edit a two-camera interview setup that delivers studio-grade results — even if you’re filming in a small space.
✅ Why Use a Two-Camera Setup?
Before we dive into the setup, here’s why it’s worth the effort:
- Visually dynamic: Alternate between wide and close-up shots
- Editing flexibility: Hide jump cuts or mistakes
- Improved storytelling: Emphasize key moments or emotional reactions
- Professional impression: Enhances viewer engagement and production value
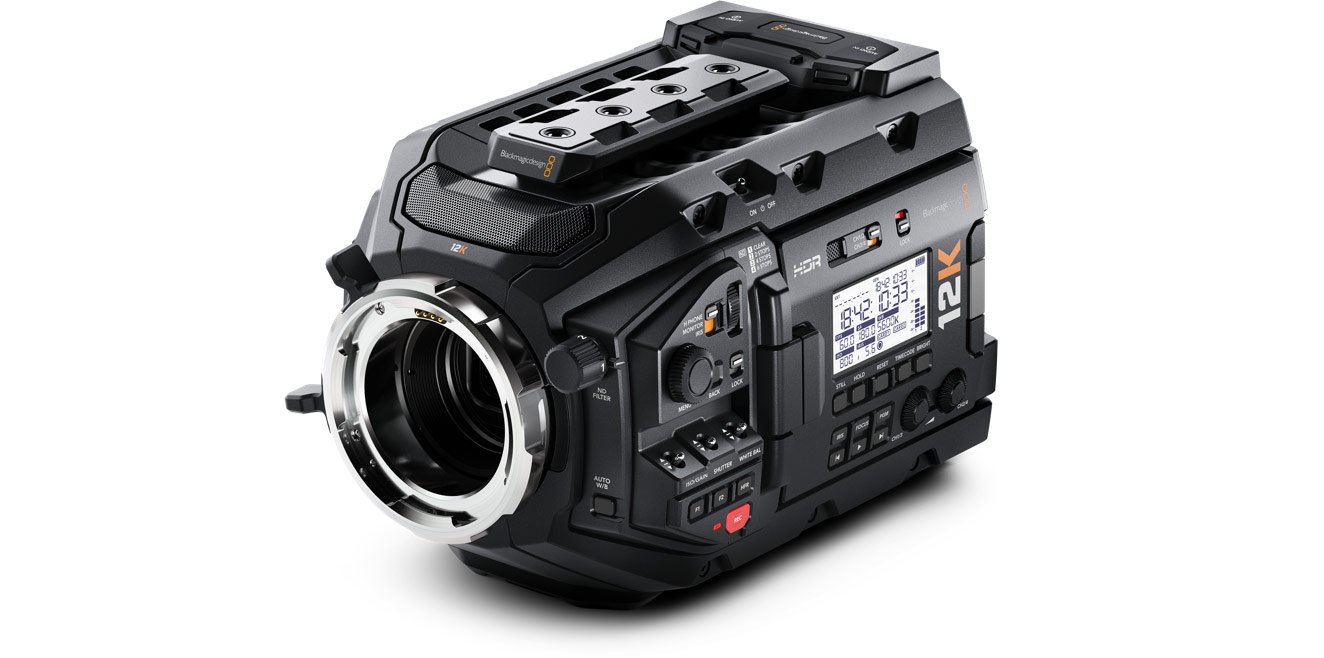
🎬 Step 1: Choose the Right Cameras
You’ll need two matching or similarly specced cameras to ensure consistent image quality and color grading.
Ideal Camera Choices:
- DSLRs or Mirrorless Cameras (e.g., Sony A7 series, Canon R-series)
- Cinema Cameras (e.g., Blackmagic Pocket Cinema Camera 6K)
- Camcorders for longer recordings
- External recorders like the Blackmagic Video Assist 5” 3G can be used to monitor and record high-quality footage externally.
🎥 Tip: Use identical models or at least match resolution, frame rate, and picture profiles in-camera to reduce grading work later.
🎥 Step 2: Camera Placement and Framing
Positioning your cameras correctly is key to creating visually engaging interviews.
🎯 Suggested Setup:
- Camera A (Primary): Framed as a medium or wide shot of both the interviewer and guest. This is your master shot.
- Camera B (Secondary): Positioned at a 30–45° angle for a close-up of the guest (or the interviewer, if needed).
Composition Tips:
- Use the rule of thirds for natural framing
- Keep headroom and eye-line consistent between angles
- Avoid both cameras being too similar in angle — create contrast in the shots
🧭 Pro Tip: Don’t cross the “180-degree rule” — keep both cameras on the same side of the imaginary line between the two people to avoid disorienting your audience.
🎤 Step 3: Capture Clean Audio
Audio is just as important as video — often more.
Recommended Audio Gear:
- Lavalier microphones for each subject (clip-on for discreet and clear voice pickup)
- Shotgun mic on a boom for backup or wide shots
- Audio recorder or mixer to capture multiple channels (Zoom H6, Rodecaster Pro, etc.)
Setup Tips:
- Monitor with headphones
- Record audio separately and sync in post for highest quality
- Consider room acoustics — use soft furnishings or portable sound panels
🎧 Backup Plan: Always record audio from the cameras as reference even if you’re using external devices.
💡 Step 4: Lighting for Depth and Dimension
Lighting can make or break the look of your interview.
Use a Basic 3-Point Lighting Setup:
- Key Light – Your main source, placed at a 45° angle to the subject
- Fill Light – Softer light to reduce shadows on the opposite side
- Back Light (Hair or Rim Light) – Separates the subject from the background
Bonus Tips:
- Use LED panel lights with softboxes or diffusion
- Position lights to create catchlights in the subject’s eyes
- Match color temperature across all lights (typically 5600K for daylight)
⚙️ Step 5: Power, Monitoring & Storage
Long interviews can run over an hour — ensure you’re prepared.
Must-Haves:
- External monitors (like the Blackmagic Video Assist) for framing, focus, and exposure
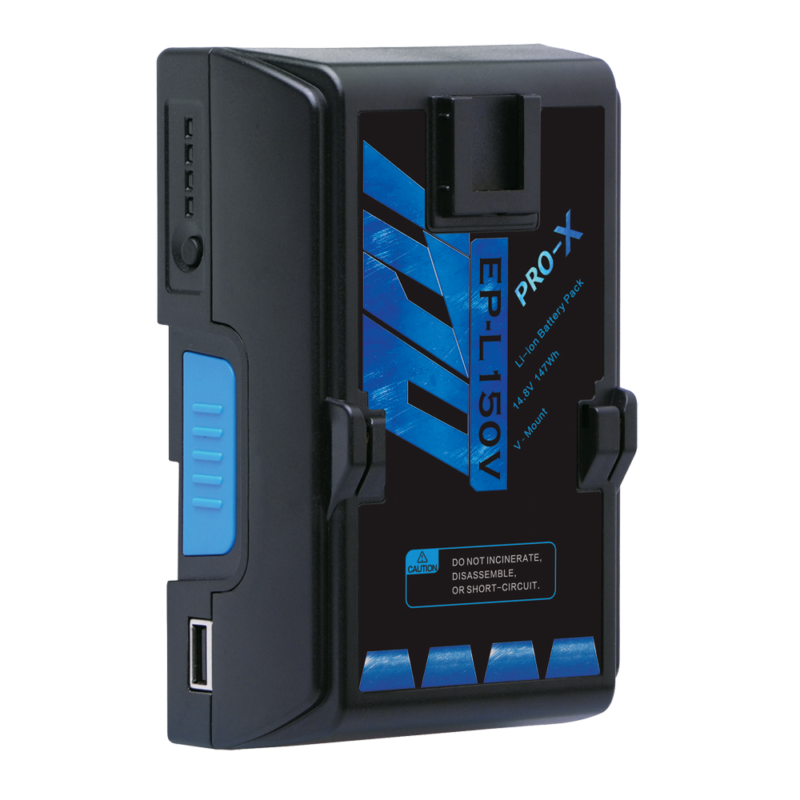
- High-capacity V-Mount or Gold Mount batteries (e.g., Pro-X EP-L150V or EP-L300A)
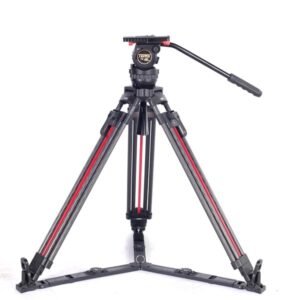
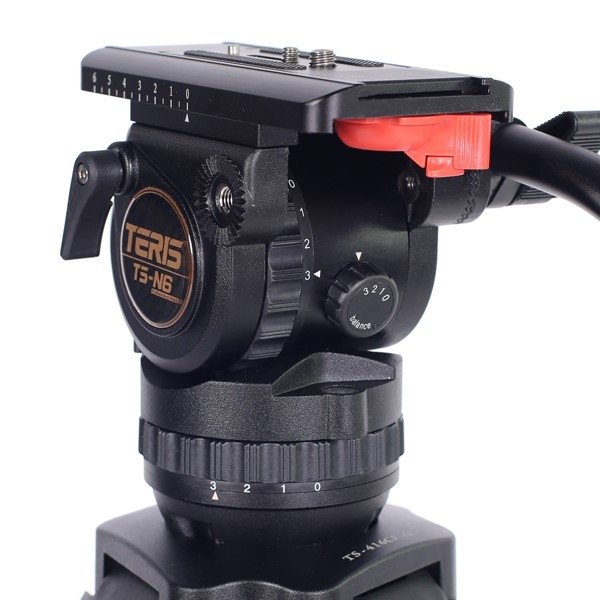
- Tripods with fluid heads (e.g., Teris TS-N6CF-Q or TS-N6AL) for stability
- Extra memory cards and backup SSDs for redundancy
🔌 Power Tip: Use AC power or external battery packs to avoid mid-interview shutdowns.
🎞️ Step 6: Sync & Edit Like a Pro
Once the footage is captured, post-production is where your two-camera setup shines.
Editing Workflow:
- Import footage into your NLE (DaVinci Resolve, Premiere Pro, Final Cut Pro)
- Sync footage via audio or timecode
- Use multi-camera editing tools to toggle between angles in real time
- Add lower thirds, background music, and b-roll to enhance the content
✂️ Pro Tip: Use the wide shot (Camera A) to establish context and cut to Camera B during emotional moments, laughter, or key points.
🔁 Bonus: Live Switching Option
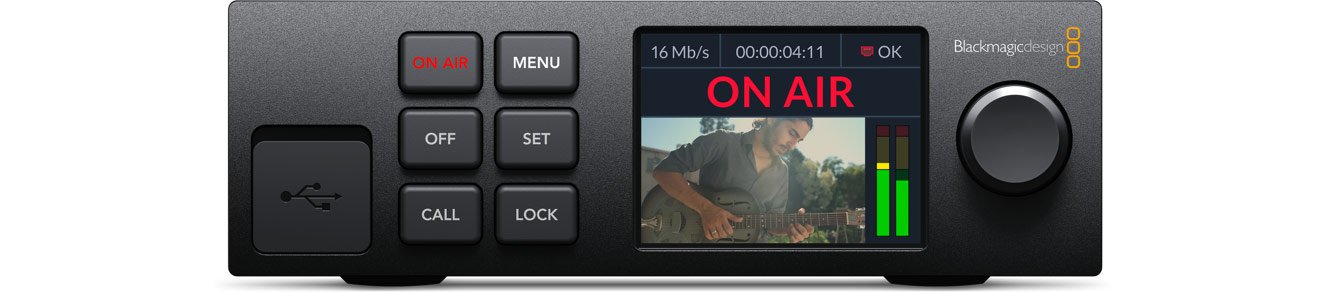
If you’re producing a live-streamed or broadcast interview, consider using a hardware switcher like the ATEM Mini Pro or ATEM Streaming Bridge. These tools let you:
- Switch between angles in real time
- Add graphics and overlays
- Stream directly to platforms like YouTube or Facebook
🌐 Hybrid Tip: Record each camera individually AND the live-switched program for editing flexibility.
✅ Final Checklist Before You Roll
✅ Camera batteries charged / plugged in
✅ Lavalier mics positioned & tested
✅ Memory cards formatted
✅ Monitors set up
✅ Audio recording backup running
✅ Interview questions printed or ready on a tablet
✅ White balance & exposure matched across cameras
✅ Final framing & focus double-checked
🎤 Conclusion: Let the Conversation Shine
With the right planning, gear, and technique, a two-camera interview setup can transform a simple Q&A into a compelling, visually rich production. Whether you’re filming a documentary, corporate testimonial, or influencer collaboration, this method gives you flexibility, polish, and professional results.
🎬 Need Help Choosing the Right Gear?
At [Your Brand Name], we offer a wide range of professional gear for two-camera setups — from tripods, V-Mount batteries, monitor/recorders, to live switching systems. Reach out to our experts to design a setup tailored to your interview style and budget.
👉 Shop Interview Kits | 📞 Speak to an Expert | 📦 Fast Delivery Available


0 Comments