


Whether you’re producing short films, YouTube content, documentaries, or commercial projects, having a professional video editing workflow is essential to stay efficient, organized, and creative. A solid workflow not only saves time — it ensures consistency, reduces errors, and allows you to collaborate seamlessly with others.
In this guide, we’ll walk you through every stage of a pro-level video editing workflow — from planning and ingest to exporting — with recommendations for tools and multimedia products that make the process smoother and more powerful.
🎬 1. Pre-Production Planning: Organize Before You Shoot
A great workflow starts before the first frame is even captured.
Key Steps:
- Script and storyboard your video
- Create a shot list and outline your editing structure
- Decide frame rate, resolution, and color settings ahead of time
💡 Why It Matters: Planning ensures that footage is consistent and editing decisions are faster.
📥 2. Ingesting and Backing Up Footage
Once shooting is done, the first step is importing and organizing your footage — known as ingesting.
Recommended Tools:
- High-speed card readers (CFexpress, SD, or CFast 2.0)
- External SSDs or RAID systems for storage
- Use tools like Hedge or ShotPut Pro for checksum-verified backups
🗂️ Pro Tip: Create a file structure like this:
Project > Footage > Camera A > Date > Clips
🔐 Safety First: Always back up footage to two locations before touching original files.
💻 3. Choosing Your Editing Software
Your NLE (Non-Linear Editor) is your creative hub.
Top Choices:
- Adobe Premiere Pro – Great for collaborative workflows
- DaVinci Resolve – Powerful for color grading and audio
- Final Cut Pro X – Optimized for Mac users
- Avid Media Composer – Used in broadcast and film editing
🎛️ Match Your Hardware: A strong computer with a fast GPU, SSDs, and plenty of RAM is a must for smooth editing.
🎥 4. Use an External Monitor for Precision
Color accuracy and image clarity are critical in post-production.
Equip your workstation with tools like the Blackmagic Video Assist 5” 3G or a professional reference monitor for accurate previews of your footage.
🔍 Why External Monitors?
They allow you to:
- Evaluate color grading in HDR/REC.709
- View footage in full resolution without compression
- Monitor waveforms, vectorscopes, and false color
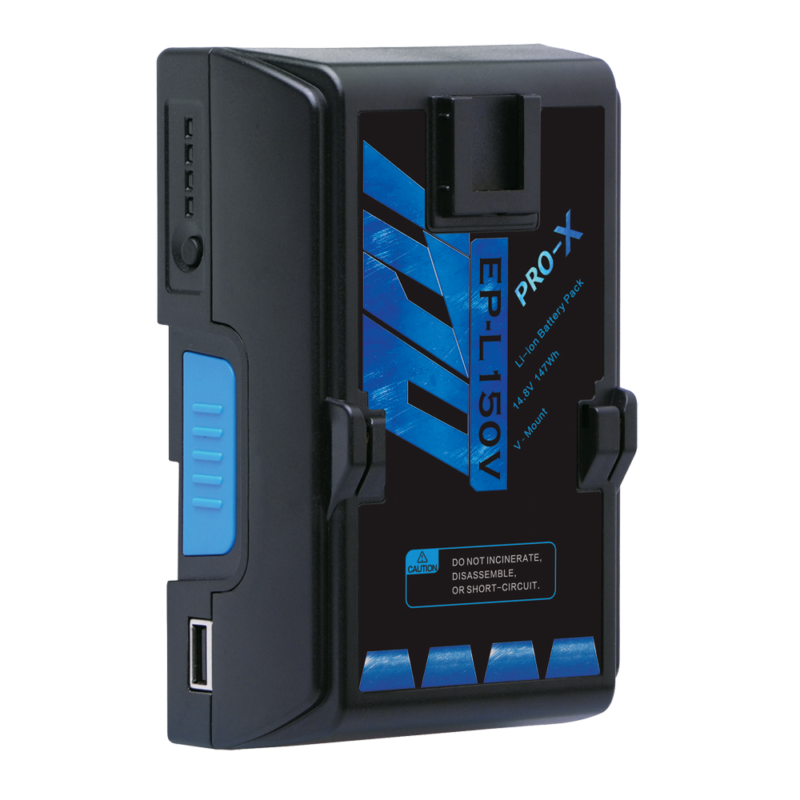
🔋 5. Power Up Your Workflow
For on-location editors or mobile workstations, reliable power is a must.
Power Tools:
- Pro-X EP-L150V (V-Mount) or EP-L300A (Gold Mount) batteries
- Pro-X GP-2LSJ dual charger for quick turnaround between sessions
🔌 Extra Tip: Keep a battery powering your monitor or recorder to reduce strain on your editing rig.
✂️ 6. Editing, Syncing, and Rough Cuts
Start assembling your story.
Key Tasks:
- Sync audio and video (especially if using external recorders)
- Organize clips into bins/timelines
- Make a rough cut — don’t focus on perfection yet
🧠 Efficiency Hack: Use multicam syncing features if working with multiple angles.
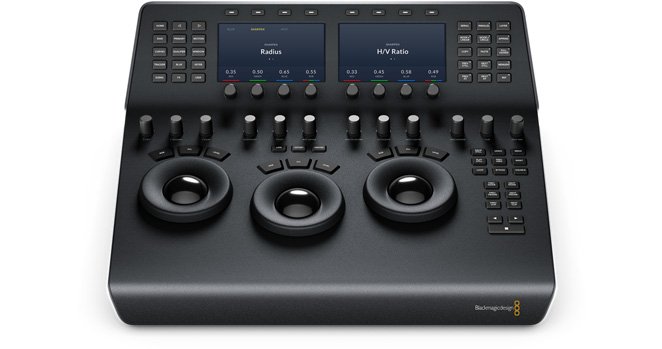
🎨 7. Color Correction and Grading
Once your edit is locked, it’s time to match and enhance your visuals.
Tools:
- DaVinci Resolve for grading (free version is powerful!)
- Use LUTs (Look-Up Tables) for stylized looks
- External recorders like HyperDeck Extreme 8K HDR for higher-quality proxies or RAW files
🎨 Pro Tip: Always color correct before grading for a clean starting point.
🔊 8. Audio Mixing and Sound Design
Bad audio can ruin great visuals. Make sure your sound is polished.
Tools:
- Adobe Audition, Pro Tools, or Fairlight (within DaVinci Resolve)
- Add foley, ambience, music, and voiceovers
- Level your mix for platforms like YouTube, TV, or film
🎧 Extra Tip: Use headphones for detail and monitor speakers for balance.
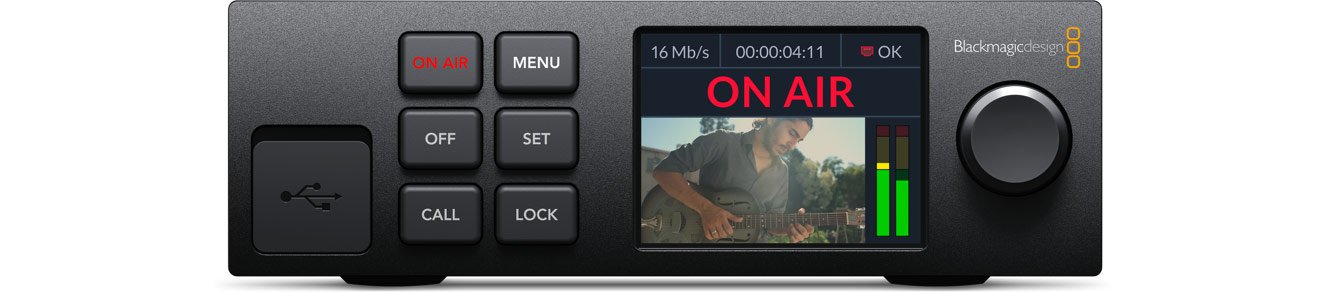
📦 9. Exporting for Multiple Platforms
Your final output should meet the platform’s technical specs.
Export Settings:
- YouTube: H.264, 1080p or 4K, 16 Mbps bitrate
- Broadcast: ProRes 422 HQ or DNxHD formats
- Social Media: Square or vertical formats with baked-in captions
Use Media Encoder or Compressor for batch exports.
🔁 10. Archive and Deliver
Once done, archive the project properly:
- Store final masters, project files, and assets on an external drive or cloud
- Create a delivery folder for your client or distributor with all necessary formats
- Label everything clearly
📦 Best Practice: Keep 3 copies — working, backup, and long-term archive.
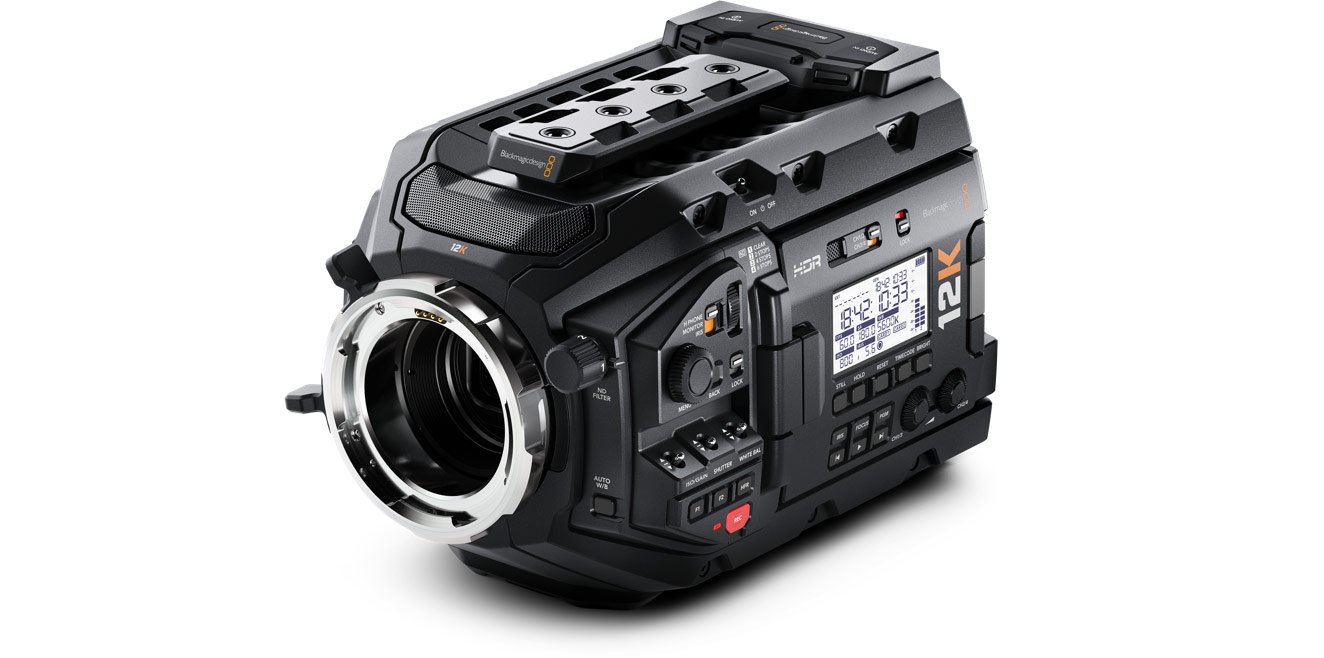
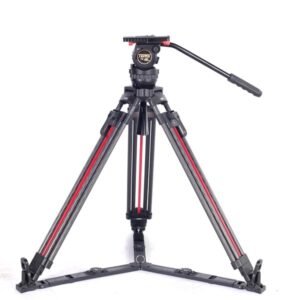
🧰 Bonus Gear Recommendations for Efficient Editing
| Product | Use Case |
|---|---|
| Blackmagic Video Assist | Monitoring, focus, and playback during editing |
| HyperDeck Extreme 8K HDR | Recording and reviewing high-res video files |
| Pro-X V-Mount/Gold Batteries | Portable power for field or mobile workstations |
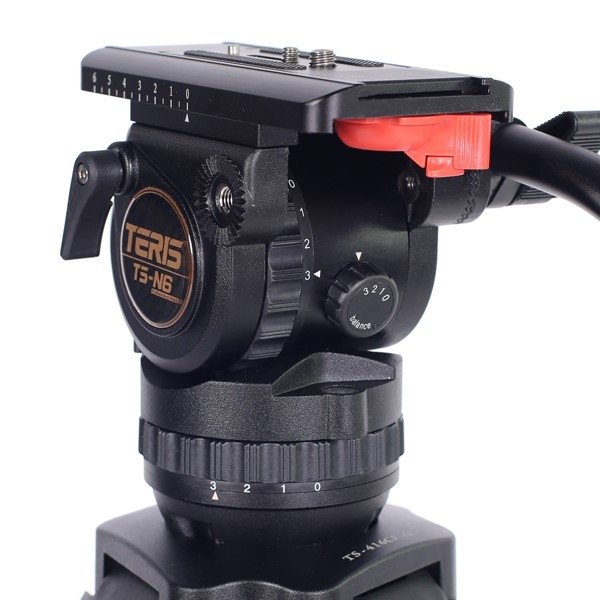
| Teris Tripods | Stable platforms for filming or setup shooting |
| High-Speed SSDs/RAIDs | Fast media transfers and safe storage |
✅ Conclusion: Build a Workflow That Works for You
Every professional editor finds a rhythm that suits their team, budget, and creative needs. The key is to start with a structured workflow, then fine-tune it with reliable gear and software that supports your creative vision.
At [Your Brand Name], we offer a full range of multimedia tools — from batteries and monitors to tripods and encoders — to help you create your best work faster, safer, and more efficiently.
💬 Need Help Setting Up Your Editing Rig?
Talk to our experts for personalized gear recommendations that match your workflow, platform, and budget.


0 Comments