


Live streaming is no longer just a trend — it’s a powerful tool used by creators, businesses, educators, and entertainers to engage with audiences in real time. Whether you’re broadcasting a product launch, a webinar, a gaming session, or a live event, starting with the right tools and techniques makes all the difference.
In this beginner-friendly guide, we’ll walk you through everything you need to start live streaming like a pro — including essential gear, software choices, and practical tips to ensure your live streams are smooth, professional, and high quality.
🔧 1. The Basics: What You Need to Start Live Streaming
Before diving into advanced setups, let’s cover the fundamentals. Here’s a simple list of the core components every live streamer needs:
- A camera (webcam, DSLR, mirrorless, or camcorder)
- A microphone (built-in, lavalier, or USB/XLR mic)
- A computer or streaming encoder
- Stable internet connection
- Streaming software (like OBS, Streamlabs, or paid tools)
- A streaming platform (YouTube Live, Facebook, Twitch, Zoom, etc.)
Once you’re clear on the foundation, you can expand with tools that increase your production value.
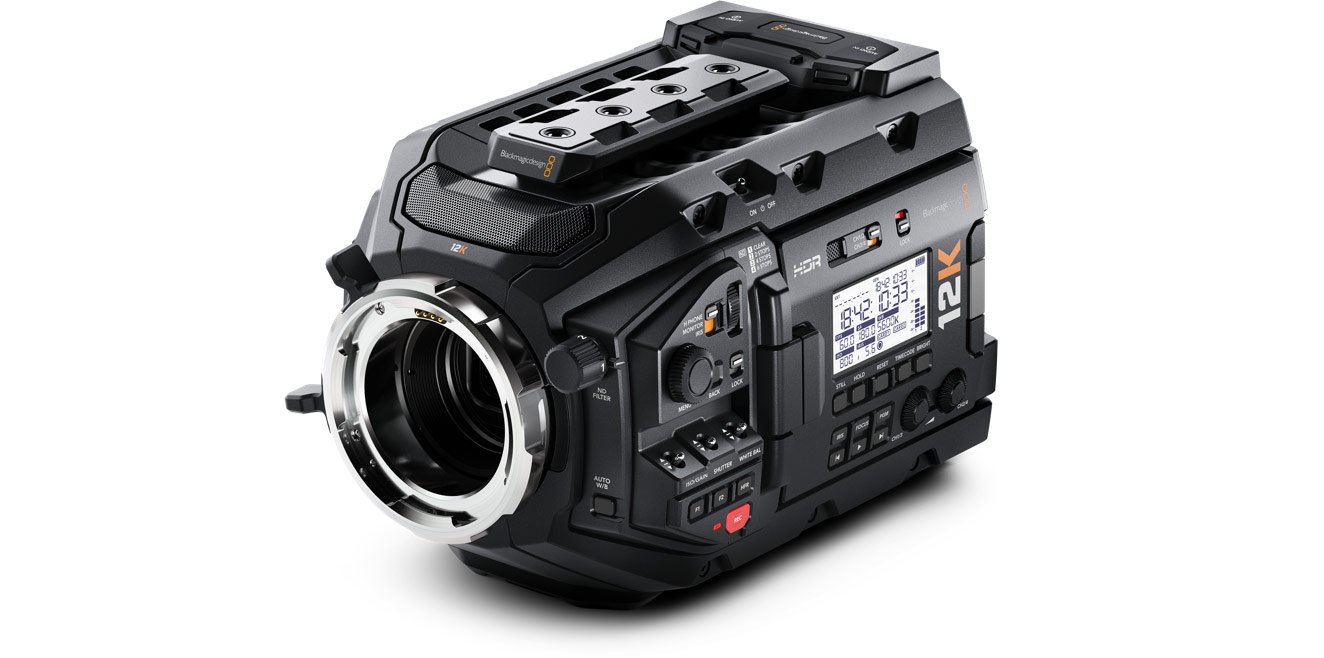
🎥 2. Camera Options: Start Simple, Upgrade as You Grow
While a good webcam is a decent starting point, investing in a higher-quality camera will dramatically improve your stream.
- Beginner: Logitech StreamCam, Razer Kiyo
- Intermediate: Mirrorless or DSLR cameras (Canon EOS M50, Sony ZV-E10)
- Pro Setup: Camcorders or cinema cameras with HDMI or SDI output
For professional video output, pair your camera with a capture device or hardware encoder.
⚙️ 3. Capture Devices & Encoders: Bridge the Gap
To connect a DSLR or cinema camera to your computer for streaming, you’ll need a video capture card or encoder. This converts your camera’s video signal into something your computer can stream.
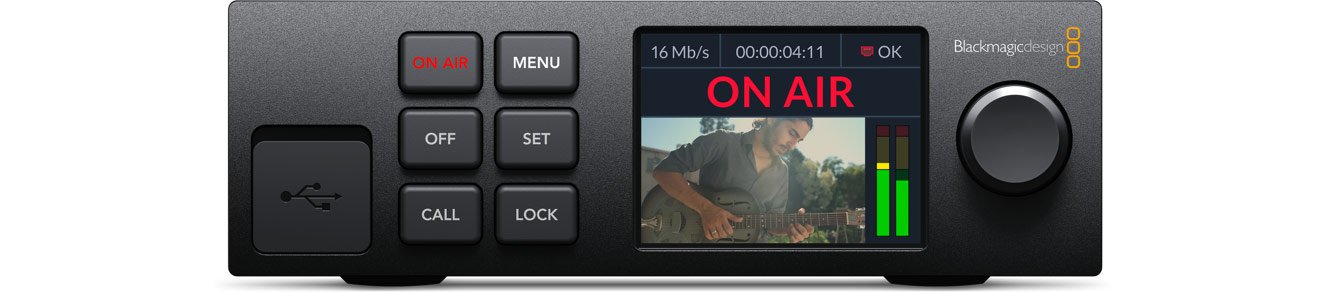
- Popular options: Elgato Cam Link 4K, Blackmagic Design ATEM Mini, and for higher-end setups, the ATEM Streaming Bridge.
🎛️ Pro Tip: Hardware encoders (like ATEM devices) reduce strain on your computer and deliver more stable streams.
🎙️ 4. Audio Matters: Choose the Right Mic
People will forgive grainy video, but they’ll tune out if your audio is bad. A quality microphone ensures your voice is clear and pleasant to listen to.
- USB Mics (Plug and Play): Blue Yeti, Rode NT-USB
- Lavalier Mics: Great for presentations and mobility
- XLR Mics + Interface: For studio-quality sound (use an audio interface like Focusrite Scarlett or Rodecaster Pro)
Also, consider accessories like:
- Pop filters
- Boom arms
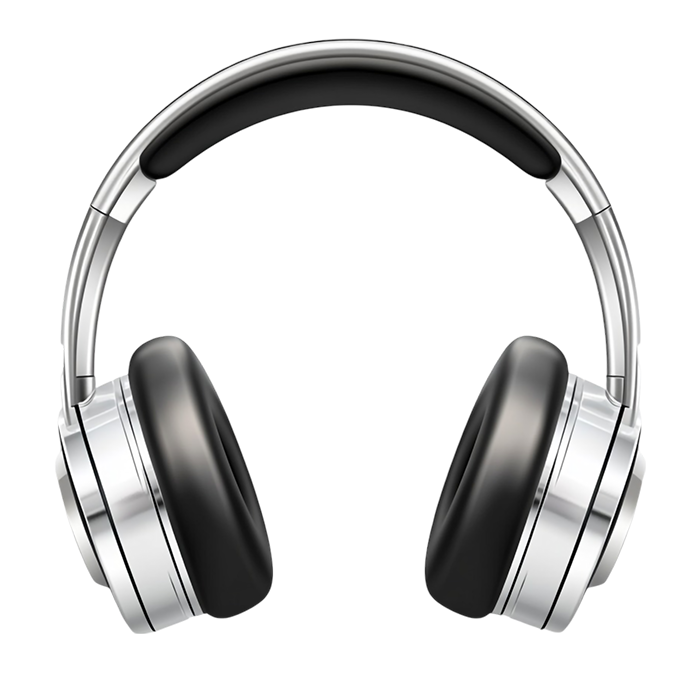
- Headphones for monitoring
🌐 5. Internet Speed: Don’t Let Your Connection Fail You
For smooth, uninterrupted streaming, a fast and stable internet connection is critical.
- Minimum upload speed: 5 Mbps for 720p, 10 Mbps+ for 1080p
- Use wired Ethernet for maximum stability — avoid Wi-Fi whenever possible
- Test your speed before every session using Speedtest.net
🖥️ 6. Streaming Software: Your Command Center
You’ll need software to control your stream, add overlays, transitions, and manage scenes.
- OBS Studio (Free & Open Source): Most popular among beginners
- Streamlabs OBS: More user-friendly with built-in themes
- vMix or Wirecast (Paid): Used by professionals for more complex setups
Features to look for:
- Multi-camera switching
- Lower thirds and graphics
- Audio mixing
- Recording your streams
🛠️ 7. Lighting & Presentation: Look Professional On-Camera
Great lighting can make a webcam look amazing. Even a basic ring light can help.
- Ring Lights: Simple and affordable
- Softbox Kits or LED Panels: Provide soft, even lighting
- 3-point lighting: For professional-quality presentation
Also consider your background. A clean setup or even a green screen adds professionalism.
🧰 8. Additional Tools to Boost Quality
- External Recorders like the HyperDeck Extreme 8K HDR for archiving footage in high quality
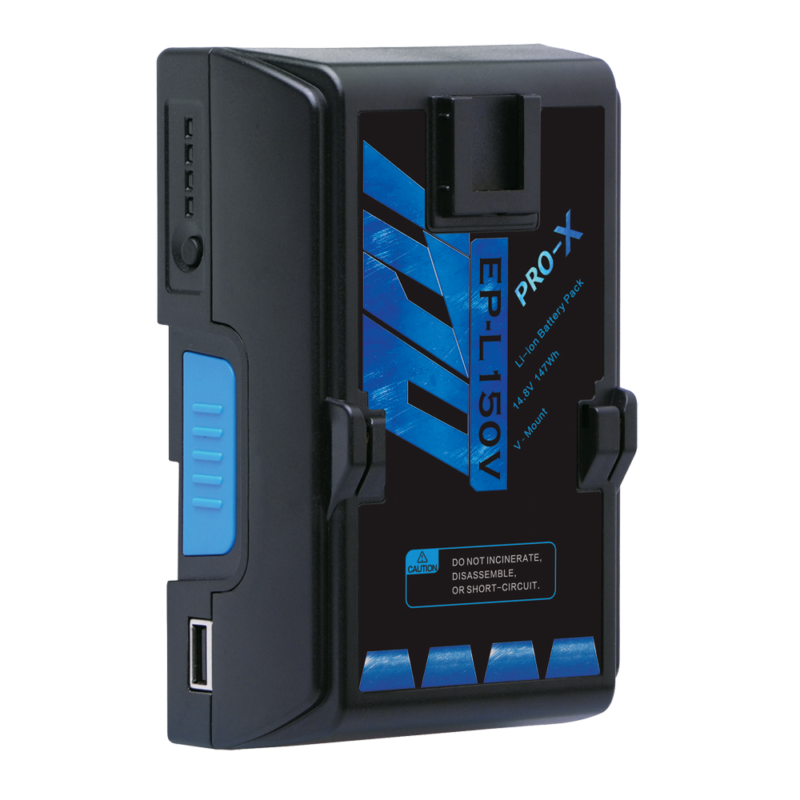
- Battery Backup or Pro-X V-Mount Batteries for power stability during mobile or field streams
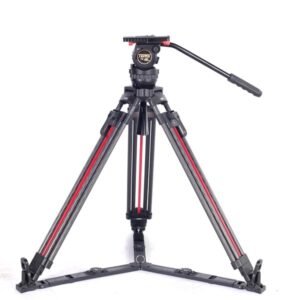
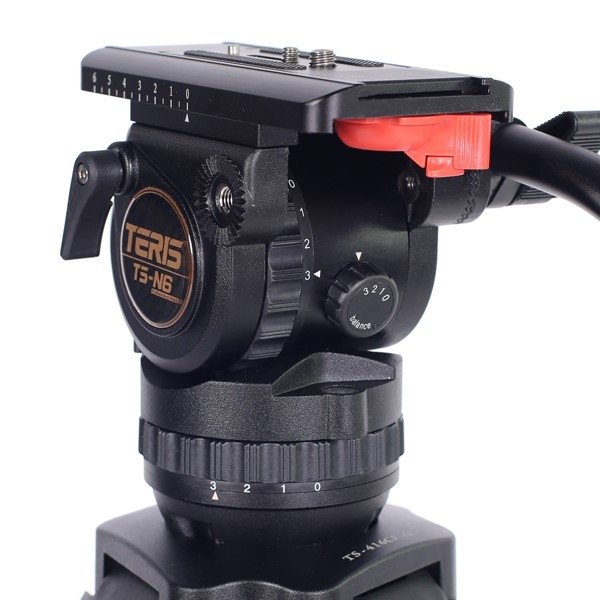
- Tripods and Mounts for camera stability (check out Teris tripod kits)
🧠 9. Streaming Tips for Beginners
- Plan your content. Script or outline your key points.
- Always test your setup before going live — do a private stream if possible.
- Engage with your audience using chat features and shoutouts.
- Record your live streams for future content reuse.
- Monitor audio and video quality live to catch issues quickly.
✅ 10. Your First Stream Checklist
✅ Camera and mic connected
✅ Streaming software configured
✅ Internet speed tested
✅ Lighting and background set
✅ Stream title, thumbnail, and description ready
✅ Go live with confidence!


0 Comments